
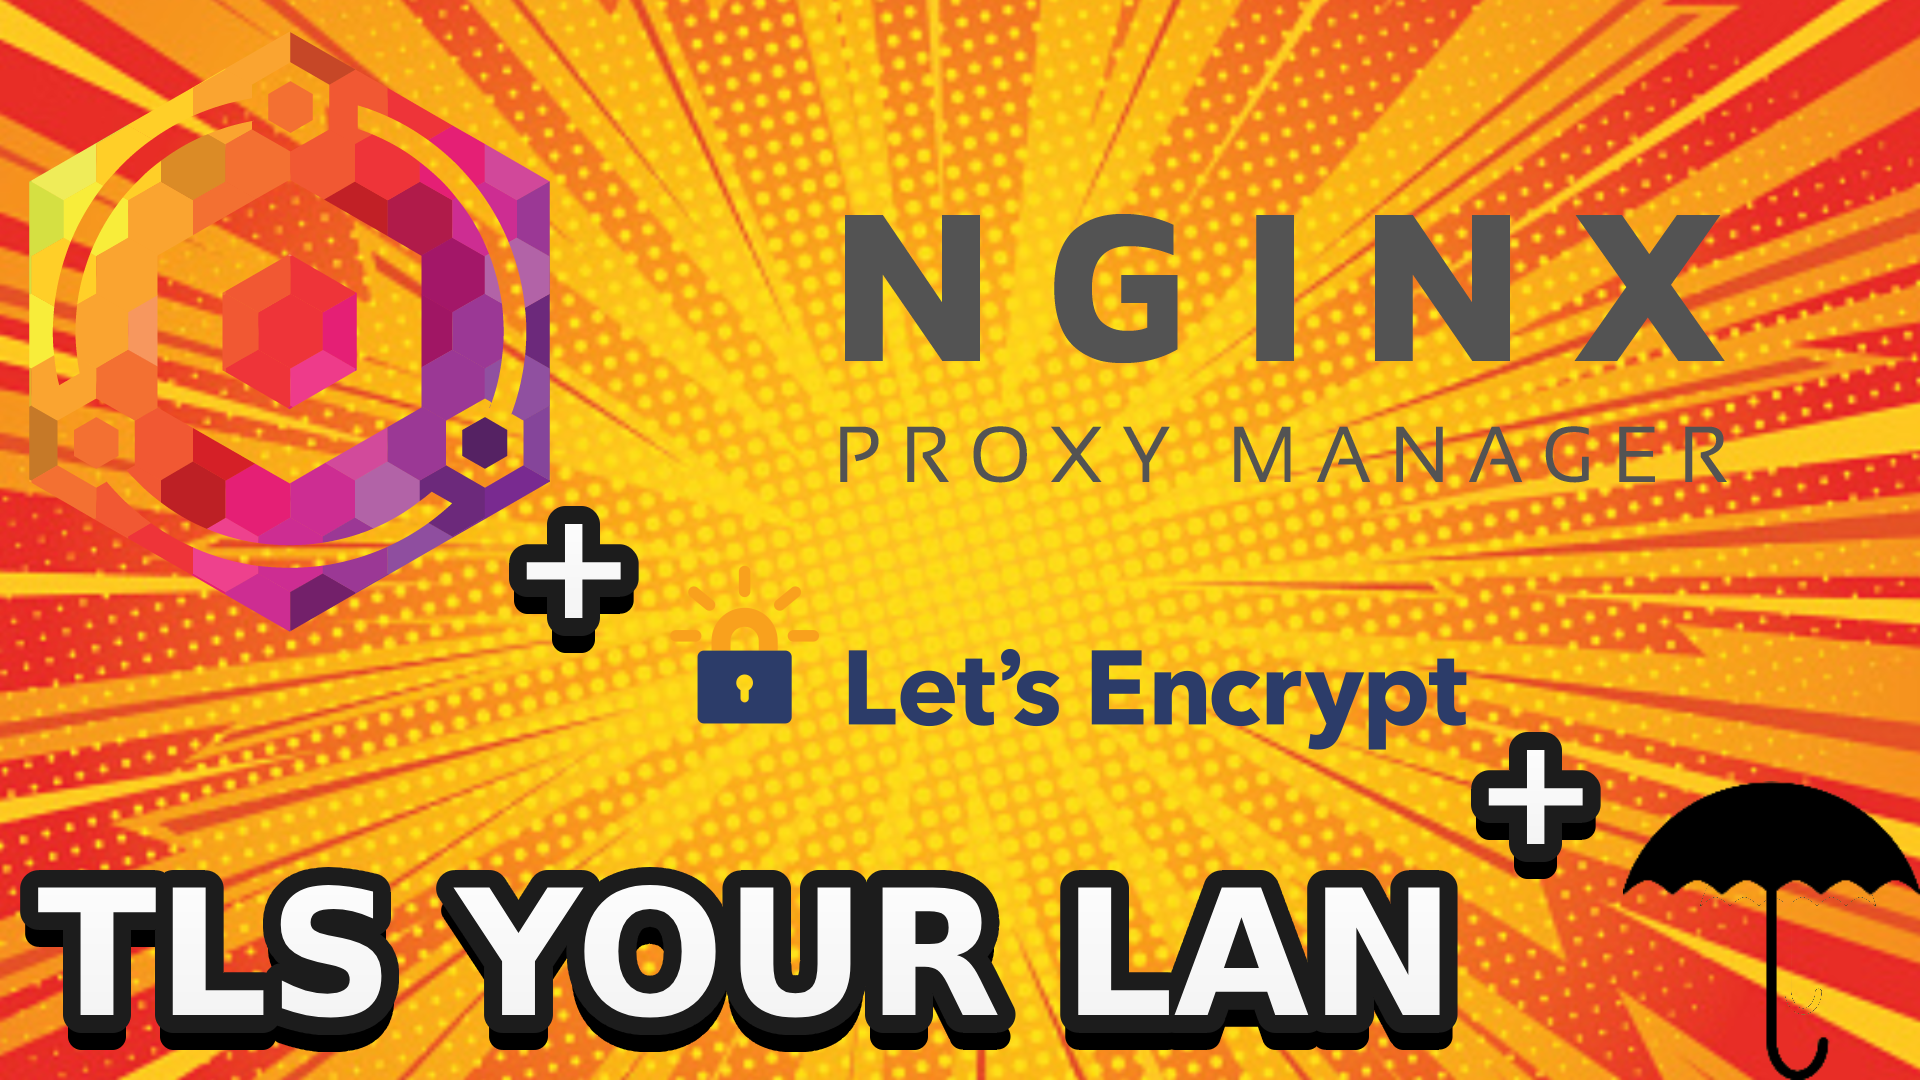
TLS your LAN
Hello World!
This is the first post within this blog and hopefully a lot of others will follow. As I am often lazy, if you are interested in a particular topic, just drop me a DM on Twitter or give a mention in a thread.
Chapter 1: The status quo
On my daily shenanigans, I am regularly facing with sth. like that:

In my pentests I advise customers to make use of proper encryption configurations almost daily. So why I don’t play by my own rules? To be honest, I already tried in the past. But as you can see on the error above, I failed miserably. I set up my own internal certificate authority based on FiloSottile/mkcert and came across the following issues, which finally resulted in the situation as of now.
-
Issuing and renewing certificates manually for all kind of your internal services is possible, but only works as long as you are disciplined. So for me, it started fine and the end you see above :/
-
Requirement 1: Automatic certificate enrollment and lifecycle
-
-
Using an own CA requires you also to make that new certificate authority trustworthy within your environment. This sounds easy, but finally you will run in some weird edge cases, eg. adding your CA to a weird Java based rich client, which makes use of a custom TLS stack. And of course, there is always a way to patch, hack, abuse it. But I like to spend my time on more interesting stuff.
-
Requirement 2: Using an already trustworthy CA makes our lives a lot easier, as all of your services are already preloaded with a set of trusted ones.
-
-
Requirement 2 calls for it own prerequesites. Your own domain. When I ran my own CA, I used a private, made up myhome.lan domain and set dedicated records in my local DNS server (even your cheapest bulk oem router is able to do it). But to get valid certificates from Let’s Encrypt we need to get a domain with a valid tld now.
-
Requirement 3: Get a domain with valid tld
-
Chapter 2: My current solution
Let’s Encrypt + deSEC.io + Nginx Proxy Manager
There are not many options when it comes to trustworthy certificate authorities that offer free certificates. Huge thanks to Let’s Encrypt. All people and orgs behind of this completely free service are responsible for the mass adoption of TLS in recent years. If you ever have used Let’s Encrypt before, you are already familiar how modern certificate enrollment can look like. If you never used it, no worries. Just read on and you will see how painless certificate management can look like. First of all we start by delegating the fresh domain to deSEC.io, a free DNS hosting service, designed with security in mind.

Ok, as soon as the delegation is live (that depends on your domain registrar), deSEC.io is responsible for the domain example.tld. You can start adding A/AAAA, CNAME and MX entries for your publicly exposed stuff as with every other DNS provider. But before we can set our DNS records for the internal stuff (remeber our goal), we must set up Nginx Proxy Manager(abbr. NPM). Sorry guys I am not going to give a detailed install guide oh NPM here. The guide on their page is just fine. Or ask YT, good example from Christian. Switch back to deSEC.io and add a new catch-all (*) A record pointing to your new internal NPM instance IP address.

This little dirty trick allows us to use our domain with all records set as expected, but all unknown requests will be answered with our internal IP address where NPM is listening.
Before leaving deSEC.io, we have to jump to the Token Management tab and create a new token for our NPM

Finally, it’s time to get a valid certificate and trustworthy certificate for our domain. Normally, you would now need to create a key pair and send a proper certificate signing request (CSR) to your CA. But thanks to ACME it is just a couple of clicks away. Hit over to the SSL Certificate tab in NPM and add a new certificate.

We are ready :)
Let’s add the first service to NPM and see how easy proper encryption can be implemented :)

On the SSL tab you have to select the certificate you just obtained in the previsous step.
Chapter 3: Adding more privacy
Our current setup is working fine, but is not perfect in regard to our privacy.

If you don’t want to leak your internal IP information to everyone else, you could also use/extend your own internal DNS server. As already mentioned above, that’s possible with your cheap router. Just remove the catch-all *.example.tld A record and add distinct records in your local DNS server.

Chapter 4: Making your Apps/Service proxy aware
This last step is not always required. A lot of your services don’t care, and your new secured way through NPM will just work fine. But there are services, that will first refuse your new secure way.

Sadly, there is no single solution for all of your services. Ths resolution always involves letting the service know, that it is being proxied. For my OPNsense example there is a dedicated attribute in the System -> Settings -> Administration settings.
And here we go :)
